

Syn Studio Art Blog
Free Online Resources for Learning Concept Art and Illustration
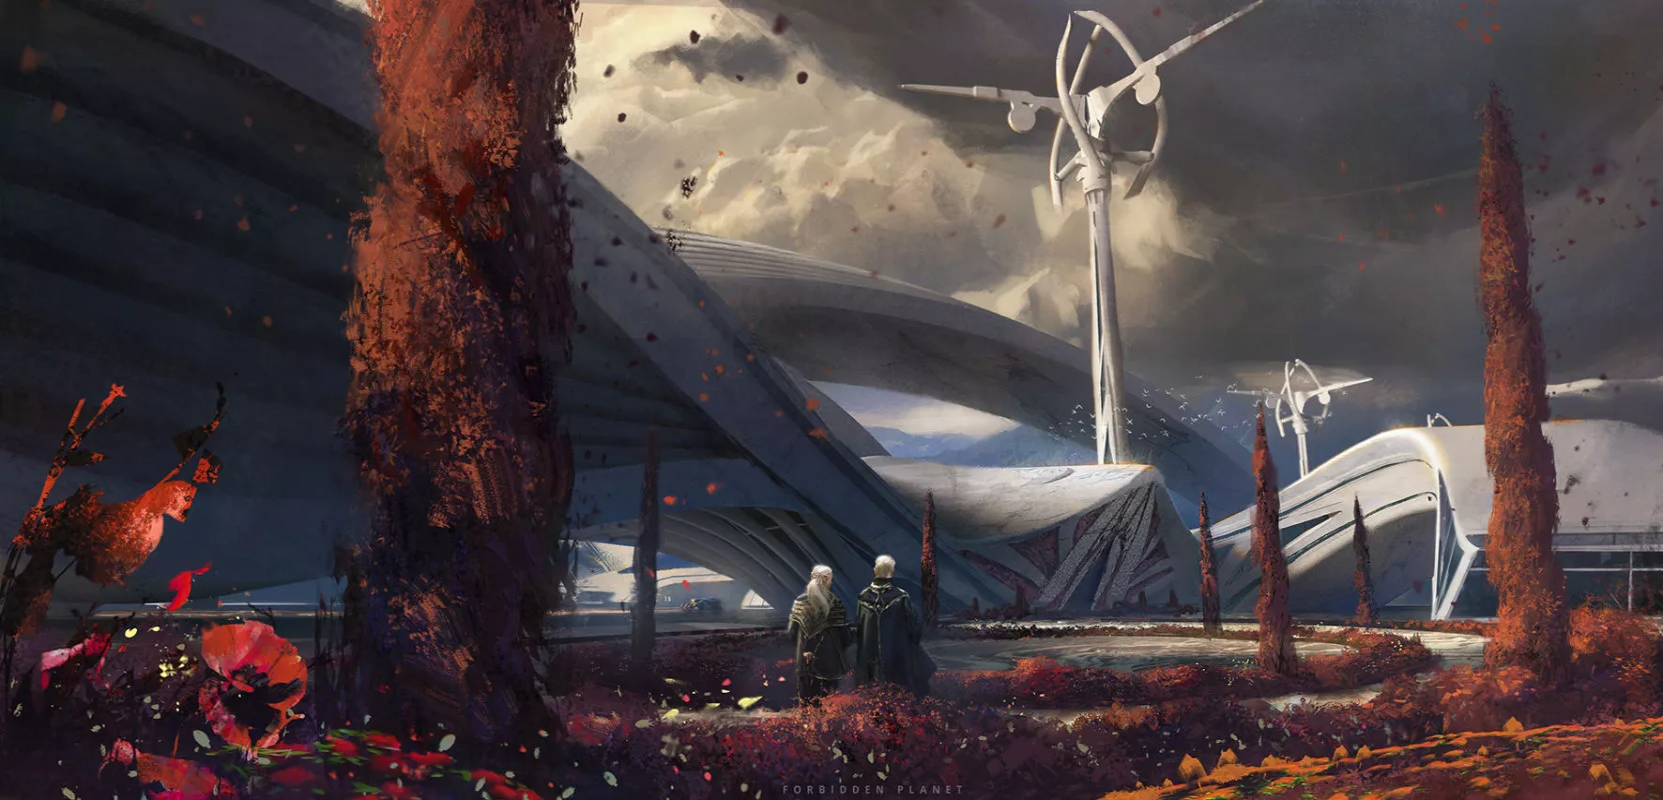
Student Artwork by Krist Miha
Blog Archive Page 1

Syn Studio’s Meet The Artist – Jarrard Lee
April 3, 2024Syn Studio's Meet the Artist is our ongoing series of interviews with artists from various backgrounds that give you a glimpse into the career's of...
READ MORE
Syn Studio’s Onsite Classes at our New Home!
March 7, 2024Syn Studio is finally able to host classes at our new location and we are eager to bring you in-person learning again! We have an...
READ MORE
Bringing Children Stories to Life
February 15, 2024Art is one of the first ways we learn to interpret the world as small children. Before we can even speak, we scribble on paper...
READ MORE
Syn Studio’s Meet the Artist – Carson Jones
January 12, 2024Syn Studio's Meet the Artist is our ongoing series of interviews with artists from various backgrounds that give you a glimpse into the career's of...
READ MORE
Looking Back on 2023
December 29, 2023Thank you for making 2023 such an awesome year! Despite such a turbulent year, it was great to see so many of you choose to...
READ MORESyn Studio’s Meet The Artist – Jarrard Lee
April 3, 2024Syn Studio’s Meet the Artist is our ongoing series of interviews with artists from various backgrounds that give you a glimpse into the career’s of these artists. Read on to become inspired by their experiences and advice! Where are you currently working at? EA Motive, Concept Artist, Iron Man Could you detail your professional career […]
Syn Studio’s Onsite Classes at our New Home!
March 7, 2024Syn Studio is finally able to host classes at our new location and we are eager to bring you in-person learning again! We have an all-new campus location at 3440 Ontario St E (Joliette metro). This new campus will have more room for students and will be a private space dedicated to Syn Studio. This […]
Bringing Children Stories to Life
February 15, 2024Art is one of the first ways we learn to interpret the world as small children. Before we can even speak, we scribble on paper (or walls when our parents weren’t looking), and while those drawings don’t look like much to others, children can clearly identify that mess of lines as a cat or a […]
Syn Studio’s Meet the Artist – Carson Jones
January 12, 2024Syn Studio’s Meet the Artist is our ongoing series of interviews with artists from various backgrounds that give you a glimpse into the career’s of these artists. Read on to become inspired by their experiences and advice! Where are you currently working at? Virtuos Montreal Could you detail your professional career? I’ve been at Virtuos […]
Looking Back on 2023
December 29, 2023Thank you for making 2023 such an awesome year! Despite such a turbulent year, it was great to see so many of you choose to better yourselves as artists. The team at Syn Studio has worked hard to bring you the best learning options, new teachers and new ways to make our services more affordable. […]
- <
- >